
Introduction:
Ballet, often referred to as the epitome of grace and beauty, lends itself perfectly to the art of photography. In this comprehensive guide, we'll delve into the world of studio ballet photography, unraveling the nuances of technique, lighting, and composition. By the end, you'll not only be equipped with the technical know-how but also armed with a plethora of captivating poses to elevate your ballet photography to new heights.
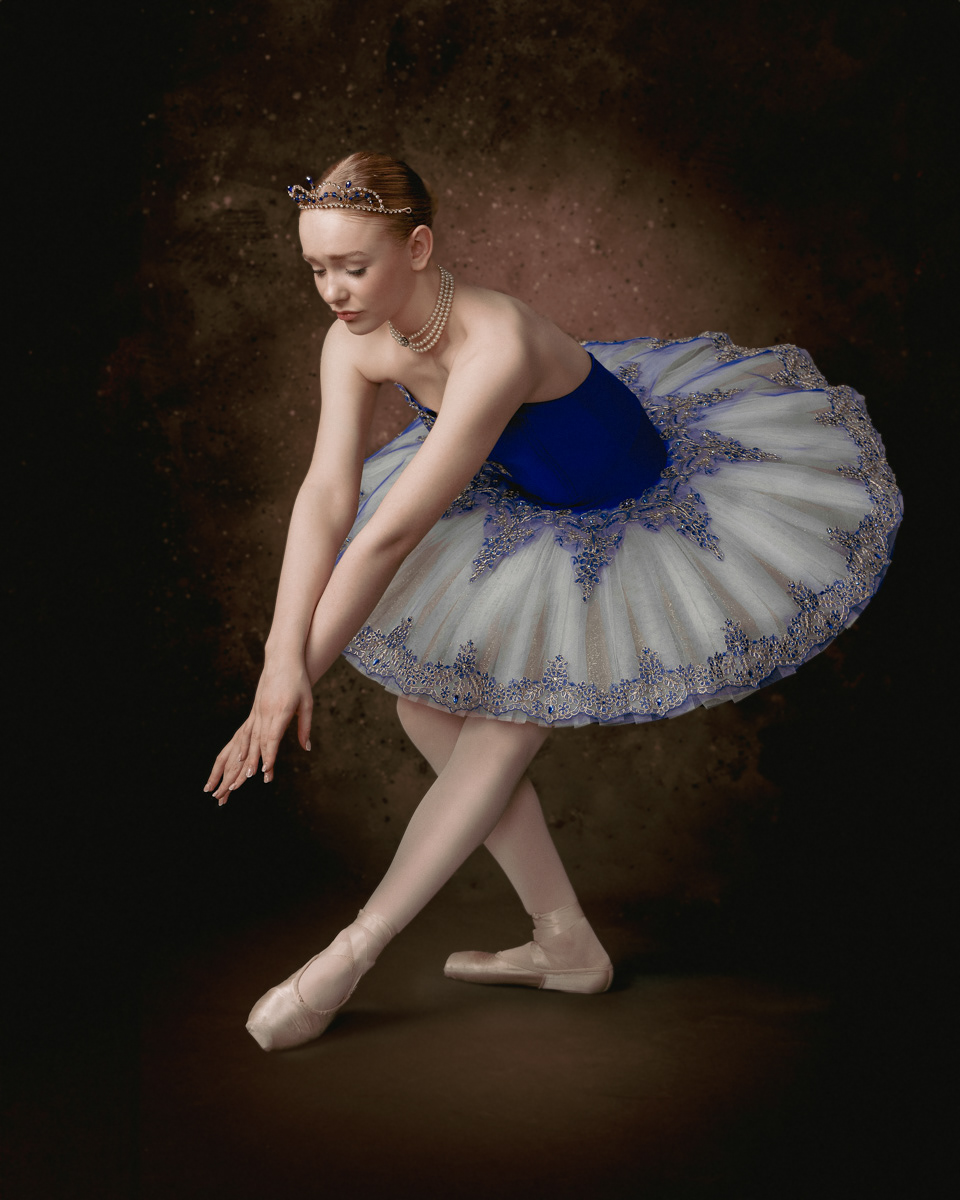
Settings: F8, 1/125 sec, ISO 100 @70mm
Section 1: Setting the Stage for Success
Creating a conducive environment in your studio is paramount when photographing ballet dancers. The right backdrop and lighting can make a world of difference. Consider using a neutral, unobtrusive backdrop that allows the dancer to take center stage. Soft, diffused lighting works best to accentuate the fluidity of the movements without harsh shadows. Ensure your studio space allows for freedom of movement, enabling dancers to express themselves fully.
Studio Lighting Set-Up
In the realm of ballet photography, lighting is a crucial element that can either enhance or detract from the grace of the dance. Here's a comprehensive guide to setting up your studio lighting for capturing stunning ballet poses:
Key Light Placement:
Position the key light at a 45-degree angle to the dancer, slightly above eye level. This angle helps create shadows that emphasize the form and muscles of the dancer.
Consider using a softbox or a beauty dish to diffuse the light, producing soft and flattering shadows.
Consider using a softbox or a beauty dish to diffuse the light, producing soft and flattering shadows.
Fill Light:
Add a fill light on the opposite side of the key light to minimize harsh shadows. This secondary light source should be softer and less intense than the key light.
Experiment with reflectors or a second, diffused light source to achieve a balanced and natural look.
Experiment with reflectors or a second, diffused light source to achieve a balanced and natural look.
Backlighting for Separation:
Introduce a backlight behind the dancer to create separation from the background. This helps to accentuate the outline of the dancer's body and hair. Use a rim light with a snoot or grid attachment to direct the light precisely and avoid spill onto the background.
Background Lighting:
Illuminate the background with a separate light source to control its brightness and create a clean, professional look.
Consider using colored gels on background lights to add a touch of creativity and mood to your compositions.
Consider using colored gels on background lights to add a touch of creativity and mood to your compositions.
Adjusting Intensity:
Fine-tune the intensity of each light source to achieve the desired balance. Take test shots and make incremental adjustments to avoid overexposure or underexposure.
Consistency in Color Temperature:
Consistency in Color Temperature:
Ensure that all your light sources have consistent color temperatures to avoid color casts in your photographs. This consistency is crucial for post-processing and maintaining the natural tones of the dancer's skin and attire.
Controlling Shadows:
Pay attention to the direction and intensity of shadows. While shadows can add dimension, too much contrast can distract from the elegance of the dance. Adjust the position and modifiers of your lights to control shadows effectively.
Remember, the key to successful studio lighting is experimentation. Understand the characteristics of your lighting equipment, and don't hesitate to try different setups to achieve the desired results. A well-lit studio provides the foundation for capturing the intricate beauty of ballet poses.
Remember, the key to successful studio lighting is experimentation. Understand the characteristics of your lighting equipment, and don't hesitate to try different setups to achieve the desired results. A well-lit studio provides the foundation for capturing the intricate beauty of ballet poses.
Section 2: Gear Essentials for Ballet Photography
Before diving into poses, it's crucial to understand the gear required for capturing these dynamic movements. A camera with a high shutter speed capability is essential to freeze fast-paced motions. Prime lenses with wide apertures, such as a 50mm or 85mm, can beautifully isolate your subject from the background, emphasizing their form. Additionally, a tripod and remote shutter release can provide stability, especially when working with slower shutter speeds.
Equipping yourself with the right camera gear and settings is paramount for translating the beauty of ballet into captivating photographs. Here's a detailed guide to setting up your camera for studio ballet photography:
Camera Choice:
Opt for a camera with a high-resolution sensor to capture the fine details of the dancer's movements. A full-frame camera is preferable for its low-light performance and wider field of view.
Lens Selection:
Choose prime lenses with wide apertures, such as a 50mm f/1.8 or an 85mm f/1.4. These lenses allow for excellent subject isolation and perform well in low-light conditions.
Aperture Priority Mode:
Consider shooting in Aperture Priority mode to have control over the depth of field. Use a wide aperture (low f-number) to create a shallow depth of field, emphasizing the dancer while creating a pleasing background blur.
Shutter Speed:
Due to the dynamic nature of ballet, a fast shutter speed is essential to freeze motion. Aim for a shutter speed of at least 1/500s to capture the fluidity of the dance without motion blur.
ISO Settings:
Start with a low ISO setting (e.g., ISO 100 or 200) to minimize noise in your images. Gradually increase the ISO if needed to maintain a proper exposure, especially in low-light studio environments.
Autofocus Mode:
Use continuous autofocus mode to track the dancer's movements seamlessly. This ensures that your camera continually adjusts focus as the dancer moves within the frame.
Metering Mode:
Choose a metering mode that suits the lighting conditions and your composition. Evaluative or matrix metering is generally reliable, but be prepared to make exposure adjustments based on the specific lighting setup.
RAW Format:
Shoot in RAW format to retain maximum flexibility during post-processing. RAW files preserve more information, allowing you to make nuanced adjustments to exposure, color, and tone.
Burst Mode:
Engage burst mode to capture a series of shots in rapid succession. This is particularly useful for sequences of movements, ensuring you don't miss the perfect pose.
White Balance:
Set the white balance manually to match the color temperature of your studio lights. This prevents color casts and ensures accurate color reproduction in your photographs.
Focus Points:
Utilize the full array of focus points on your camera to maintain precision in focusing. Consider using a single-point focus mode for more control over the focus point.
Monitor Histogram:
Keep an eye on the histogram in your camera's display to ensure a balanced exposure. Avoid clipping highlights or shadows, as recovering details in post-processing may be challenging.
As you embark on your ballet photography journey, familiarize yourself with your specific camera's capabilities and customize settings based on your preferences and shooting conditions. Through a thoughtful combination of gear, lighting, and camera settings, you'll be well-equipped to freeze the poetry of ballet in each frame.
As you embark on your ballet photography journey, familiarize yourself with your specific camera's capabilities and customize settings based on your preferences and shooting conditions. Through a thoughtful combination of gear, lighting, and camera settings, you'll be well-equipped to freeze the poetry of ballet in each frame.
Section 3: Posing and Composition Techniques
Now, let's explore some fundamental poses that can truly capture the essence of ballet:
Arabesque:
Instruct the dancer to extend one leg straight behind them while maintaining a straight upper body.
Emphasize the importance of pointing the toes and elongating the arms for a visually striking pose.
Emphasize the importance of pointing the toes and elongating the arms for a visually striking pose.
Attitude:
Have the dancer bend one knee and lift the leg to the side, forming a 90-degree angle.
Encourage a graceful curve in the arms, creating a sense of fluidity and elegance.
Encourage a graceful curve in the arms, creating a sense of fluidity and elegance.
Pirouette:
Capture the beauty of a turning motion by having the dancer execute a pirouette.
Focus on the facial expression and extension of the arms to convey a sense of controlled motion.
Focus on the facial expression and extension of the arms to convey a sense of controlled motion.
Grand Jeté:
Instruct the dancer to leap into the air with one leg extended forward and the other extended backward. Time your shot to freeze the apex of the jump, emphasizing the dancer's airborne grace.
Tendu:
Highlight the simplicity and precision of a tendu by capturing the dancer's pointed foot reaching outward. Experiment with different angles to showcase the line and form created by the extended leg.
Settings: F8, 1/125 sec, ISO 100 @70mm
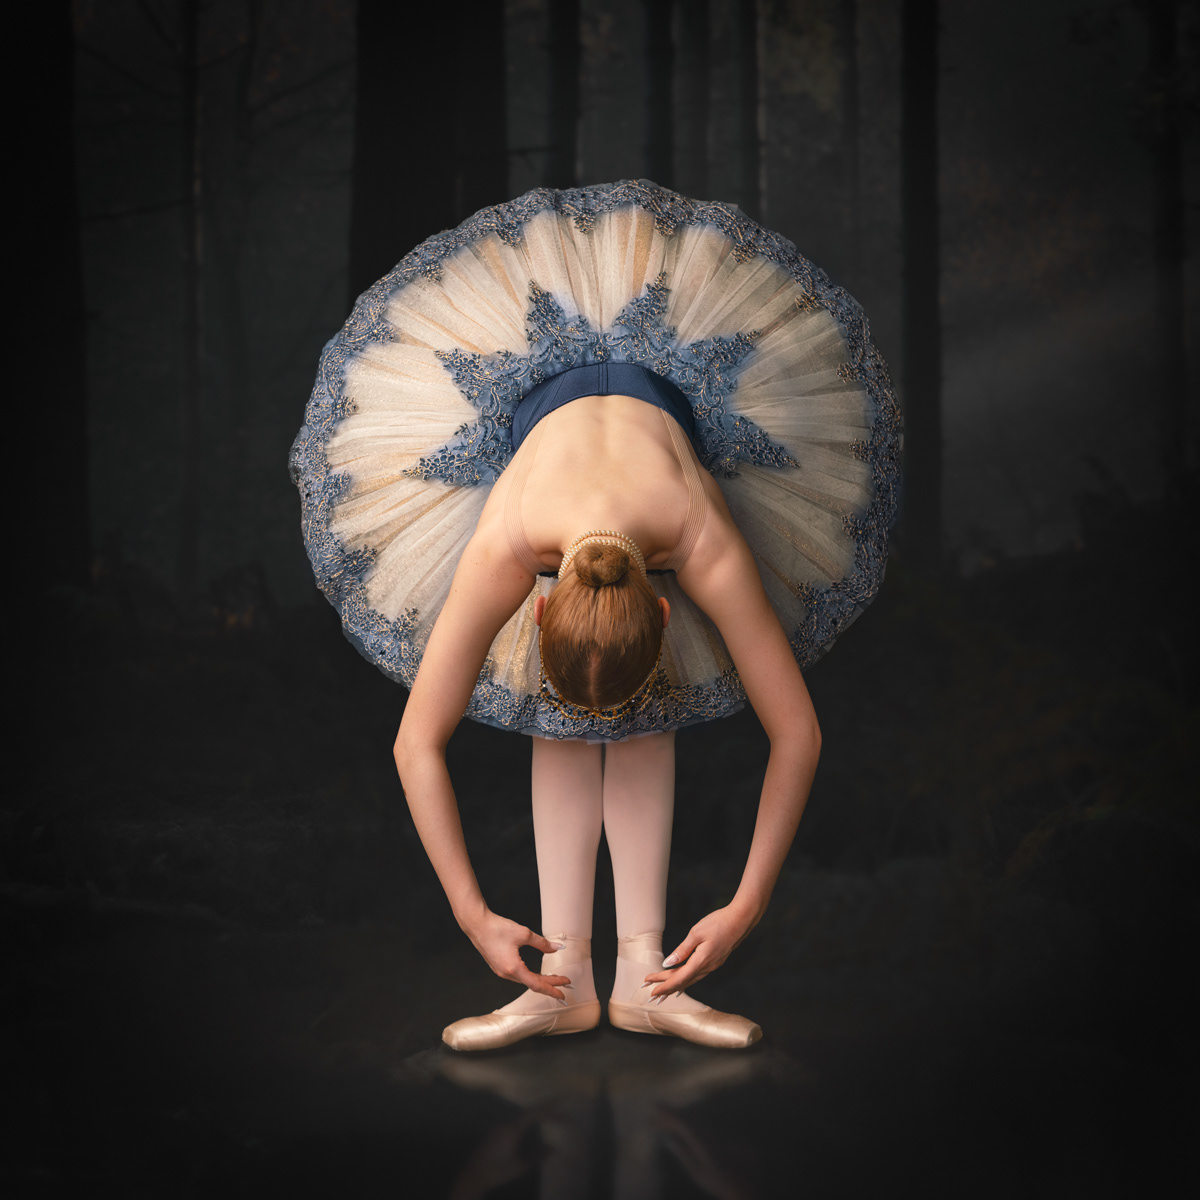
Settings: F3.5, 1/125 sec, ISO 100 @27mm
Section 4: Capturing Motion and Emotion
Ballet is not only about form; it's about conveying emotion through movement. To capture this, employ techniques that emphasize both the dynamic nature of the dance and the emotional depth of the performer:
Motion Blur:
Experiment with slower shutter speeds to introduce controlled motion blur, conveying a sense of movement. Use this technique selectively to add a dynamic element to certain shots while keeping the dancer sharply focused in others.
Facial Expressions:
Encourage dancers to express emotion through their facial expressions, even in seemingly static poses. Zoom in on the eyes and expressions to capture the intensity and passion of the dance.
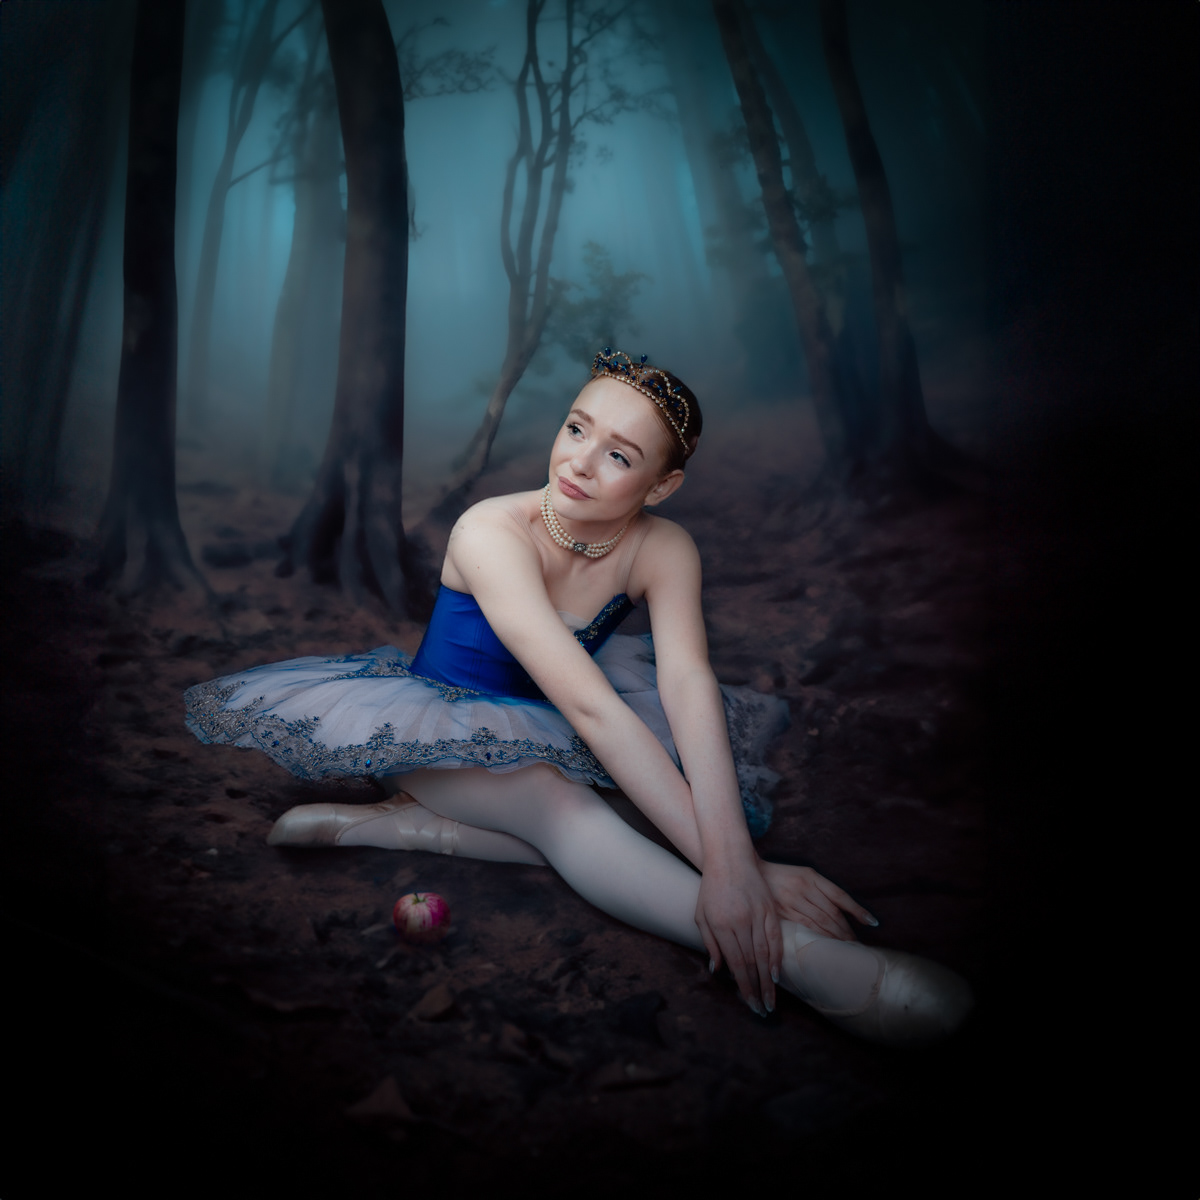
Storytelling Through Poses:
Work with dancers to tell a story through their poses. Connect with the narrative of the dance and guide them to convey specific emotions through their movements.
Section 5: Building a Connection with Dancers
Establishing a rapport with your subjects is crucial for capturing authentic and emotive images. Communicate clearly and respectfully, providing guidance while also allowing for creative expression. Make the studio a collaborative space where dancers feel comfortable sharing ideas and trying different poses.
Section 6: Editing and Enhancing Ballet Photographs
Once you've captured a stunning array of poses, the editing process comes into play. Use post-processing tools to enhance the beauty of the dance:
Color Grading:
Experiment with different color tones to evoke the desired mood. Warm tones can add a sense of intimacy, while cooler tones may convey a more ethereal atmosphere.
Contrast and Clarity:
Adjust contrast and clarity to emphasize the intricate details of the dancer's form. Be mindful not to overdo it, maintaining a balance that enhances rather than distracts.
Selective Retouching:
Use selective retouching to highlight key features such as pointed toes, graceful hands, and facial expressions. This brings attention to the nuances that make each pose unique.
Section 7: Showcasing Your Ballet Photography Portfolio:
Your online portfolio serves as a visual resume, displaying your skills and style. Optimize it for search engines by incorporating relevant keywords such as "studio ballet photography," "dance portraits," and "graceful poses." Include a variety of poses to showcase the breadth of your capabilities, creating a visual narrative that captivates potential clients and collaborators.
Section 8: Leveraging Social Media for Exposure
Utilize social media platforms to amplify the reach of your ballet photography. Share behind-the-scenes glimpses, engage with the dance community, and use relevant hashtags to broaden your audience. Encourage dancers to share your work, creating a network of exposure that extends beyond your immediate reach.
Section 9: Collaborating with Ballet Communities
Forge connections within the ballet community by attending events, workshops, and performances. Collaborate with local dance schools and companies, offering your expertise for promotional materials or capturing live performances. Actively participating in the ballet world not only expands your network but also positions you as a trusted photographer within the community.
Conclusion:
In the realm of studio ballet photography, mastering the art of capturing grace is an ongoing journey. From setting the stage to perfecting poses, embracing motion, and building meaningful connections, every step contributes to creating images that resonate. As you embark on this creative endeavor, remember that each pose is a brushstroke, painting a vivid portrait of the beauty and emotion inherent in the world of ballet. Armed with this guide, step into your studio with confidence, and let the dance unfold through your lens.
Thank you, stay safe and happy shooting!
Martin
Want to learn more?
This topic and guide is very closely linked to my other guides, please check them out:
Want to see more images like this?
Looking for further advice and inspiration, head over to:
Like what you see and want any of my images as a print up to A3, please contact me?
If you have any questions, comments or feedback please reach out to me using the submission form below. I know these guides have been greatly received by many and I'm always happy to help out where I can.
Thank you!