
If you’ve ever stood trackside at a motocross event, you know it’s an assault on the senses in the best possible way. The smell of two-stroke oil, the roar of engines fighting for the holeshot, and the sheer unpredictability of bikes flying through the air—it’s an adrenaline rush that begs to be captured.
Whether you are transitioning from tarmac to dirt or picking up a camera for the first time, motocross (MX) photography offers a unique set of challenges and rewards. In this guide, I’ll walk you through the essential techniques, gear, and safety tips you need to capture the grit, the air, and the raw energy of motocross.
The Location: It’s All About the Dirt
Unlike circuit racing, motocross tracks are living, breathing entities. They change lap by lap as ruts deepen and berms get blown out. To tell a compelling story, you need to immerse yourself in this environment.
Unlike circuit racing, motocross tracks are living, breathing entities. They change lap by lap as ruts deepen and berms get blown out. To tell a compelling story, you need to immerse yourself in this environment.
I’m lucky to have access to local practice tracks that offer a raw, grassroots feel. For this guide, I’ll be referencing shoots from local off-road circuits where the access is great and the action is relentless. Unlike paved circuits, MX tracks offer elevation changes, jumps, and tight corners that allow for incredibly dynamic compositions.
Top Tip: Smaller practice tracks often have fewer advertising boards and less "visual clutter" (like safety fences) than major stadiums, making it easier to get those clean, professional-looking shots.
Forward Planning: Dust is the Enemy
Before you even pack your bag, check the weather. In road racing, rain is a nuisance; in motocross, it changes the entire game. A dry day means dust (and lots of it), while a wet day means heavy mud. Both look amazing on camera but require preparation.
Before you even pack your bag, check the weather. In road racing, rain is a nuisance; in motocross, it changes the entire game. A dry day means dust (and lots of it), while a wet day means heavy mud. Both look amazing on camera but require preparation.
Call the track owner ahead of time. MX communities are tight-knit; introducing yourself and asking for permission goes a long way.
Packing My Bag: Gear & Protection
When bikes are tearing up the dirt, debris is flying everywhere. Your gear needs to be up to the task.
When bikes are tearing up the dirt, debris is flying everywhere. Your gear needs to be up to the task.
Lens Choice: Just like road racing, a fast lens is your best friend. An aperture of f/2.8 helps isolate the rider against busy backgrounds.
70-200mm f/2.8: This is my workhorse. It’s versatile enough to shoot across the track or zoom in tight on a rider blasting a berm.
Wide Angle (16-35mm or 24-70mm): Unlike road racing, you can often get physically closer in MX. A wide-angle shot from a low vantage point can make a jump look absolutely massive.
Crucial Addition – Protection: This is the biggest difference between tarmac and dirt. You need a UV or Clear Protection filter on your lenses. You will get hit by flying roost (dirt and rocks kicked up by tires). It is much cheaper to replace a cracked £50 filter than a scratched front element of a £2,000 lens. I also carry a rain cover, not just for rain, but to keep fine dust out of the camera body.
On Location: Positioning and Angles
Your choice of position dictates the energy of the photo.
Your choice of position dictates the energy of the photo.
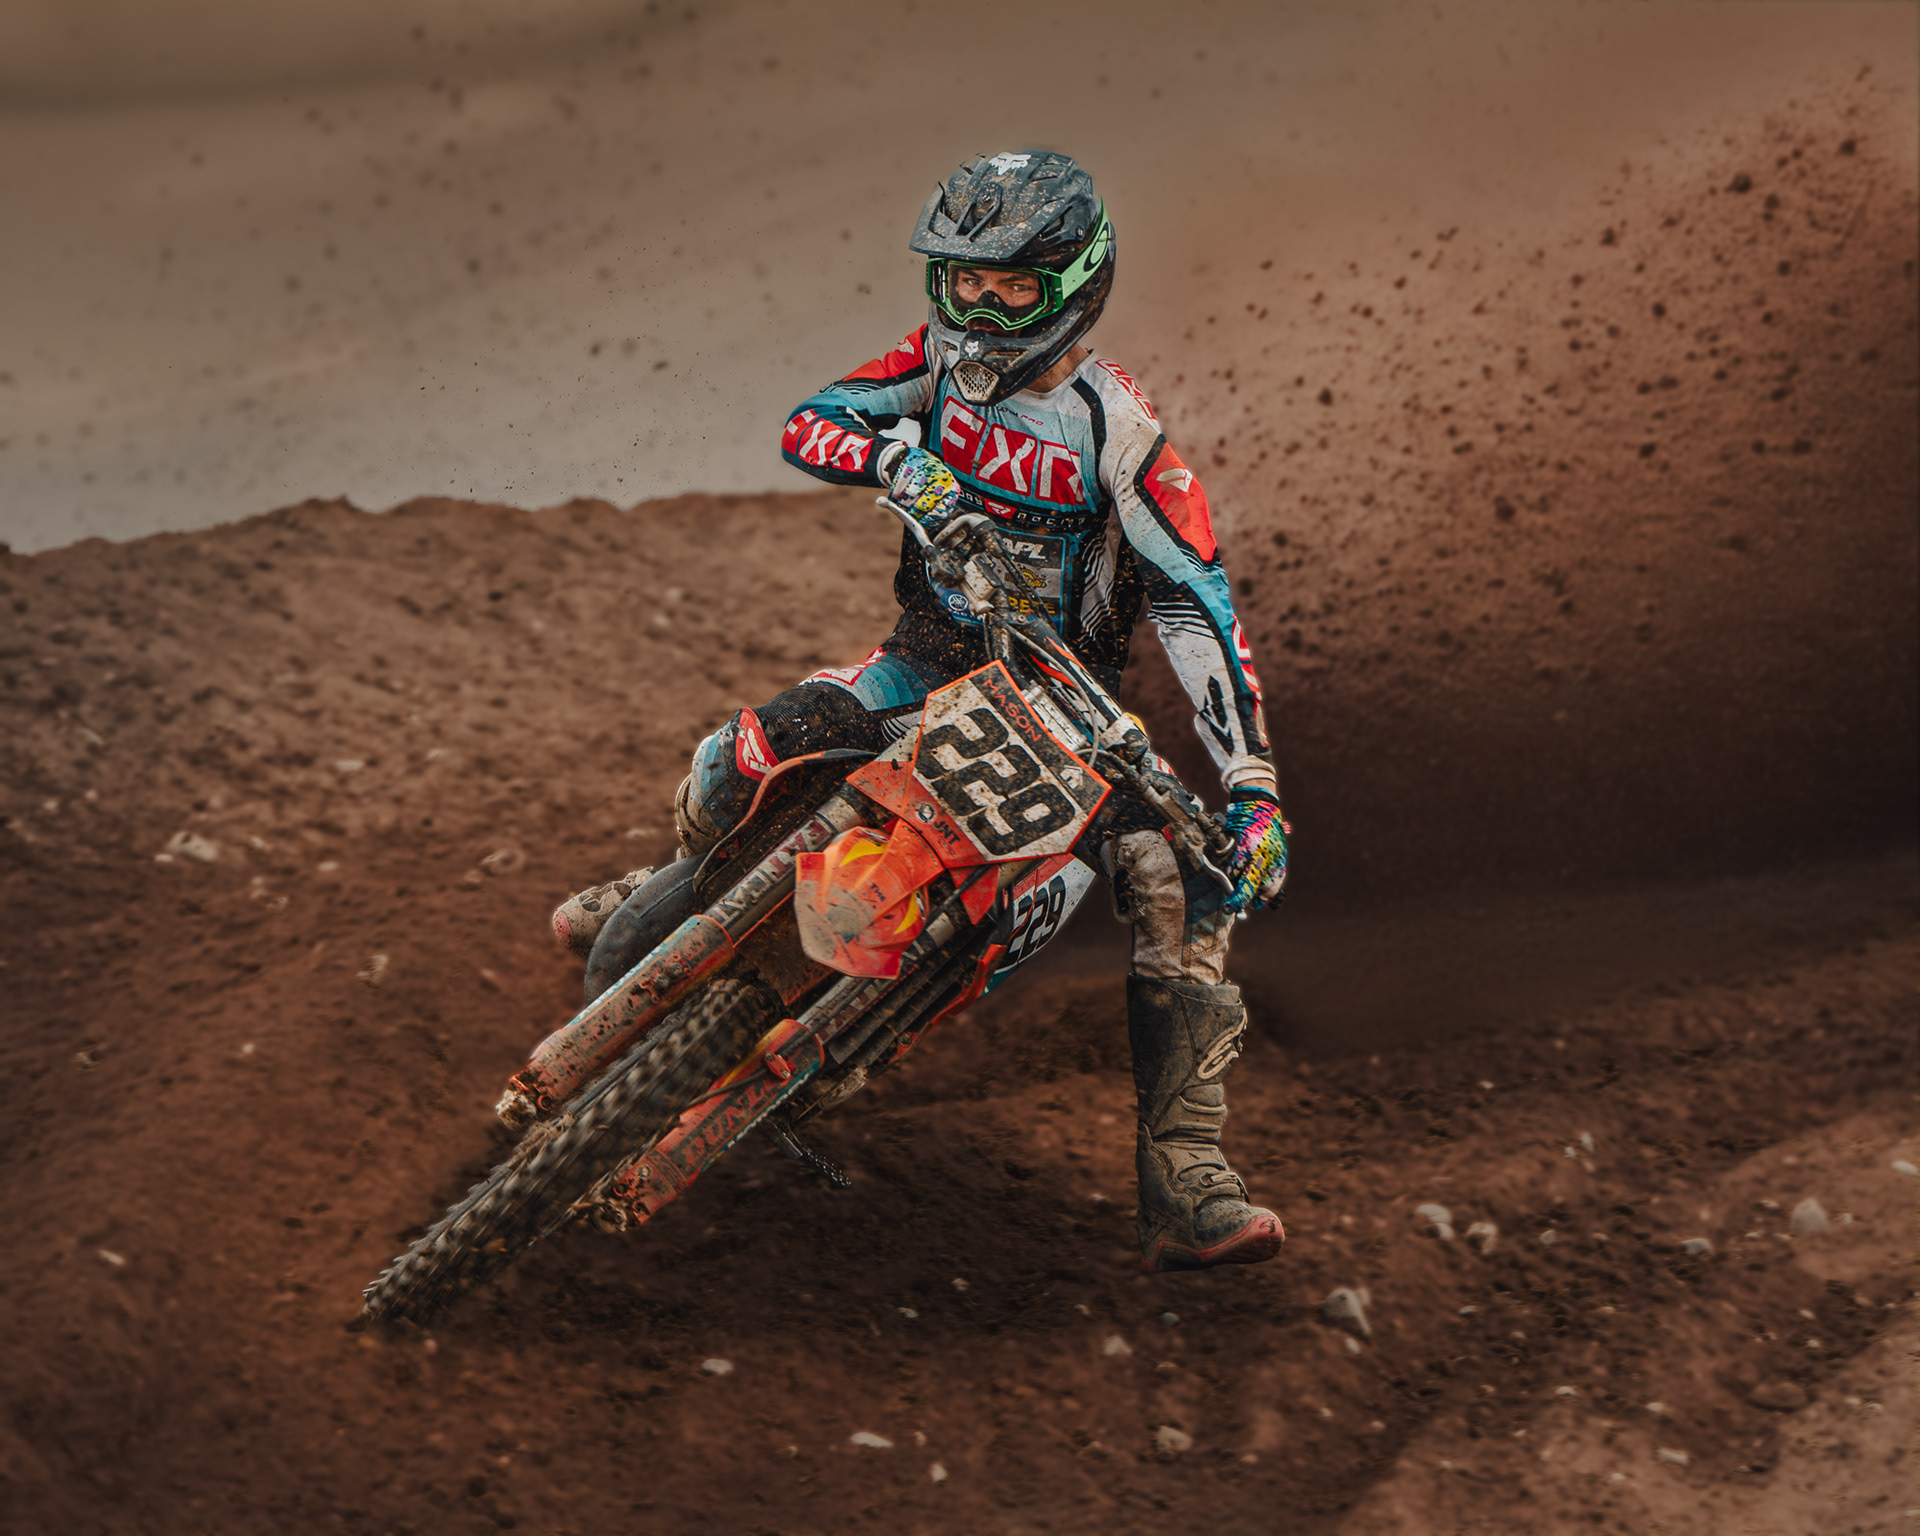
Get Low: I cannot stress this enough. If you shoot a jump from standing height, the air looks small. Lie down on the ground (yes, you will get dirty) and shoot upwards. The rider will look like they are launching into the stratosphere.
The Berms: Corners with banked earth (berms) are where the explosive action happens. Position yourself so the rider is coming toward you or exiting the frame to capture the spray of dirt (roost) flying off the rear wheel.
Lighting the Dust
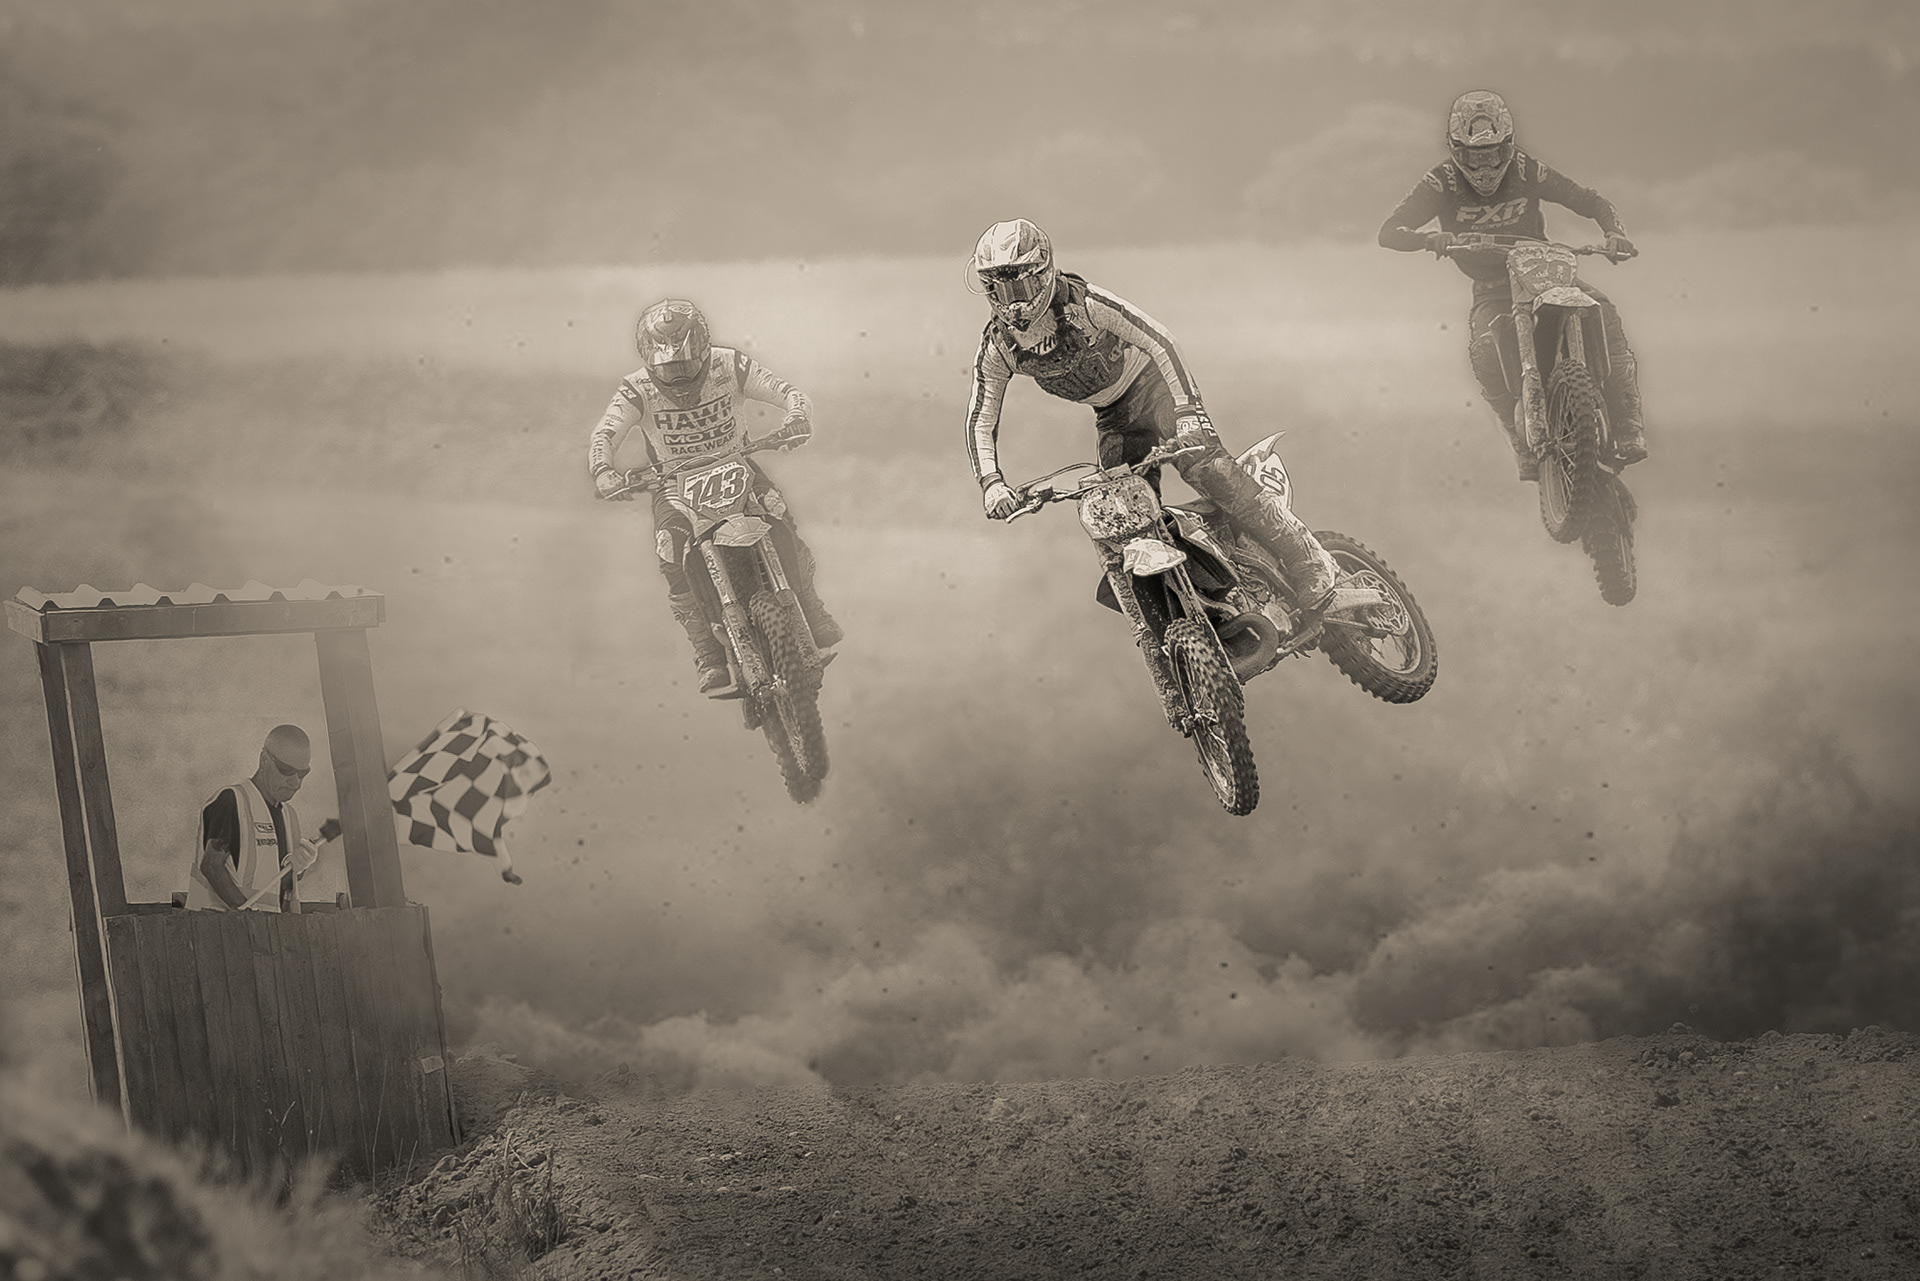
Light behaves differently on a dirt track. Backlighting (shooting toward the sun) can be magical in motocross. When the sun hits the dust kicked up by a bike, it glows, adding a dramatic, cinematic atmosphere to your images.
Light behaves differently on a dirt track. Backlighting (shooting toward the sun) can be magical in motocross. When the sun hits the dust kicked up by a bike, it glows, adding a dramatic, cinematic atmosphere to your images.
The Magic of Shutter Speed: Freezing the Grit
In road racing, we often pan to show speed. In motocross, we often want to freeze the chaos.
In road racing, we often pan to show speed. In motocross, we often want to freeze the chaos.
Freezing the Roost: To capture every grain of dirt flying through the air, you need speed. I often crank my shutter to 1/1600 sec or faster. This freezes not just the rider, but the explosion of earth behind them.
Propeller Blur: If you are shooting bikes, the wheels spin incredibly fast. A super high shutter speed can make the bike look static (parked in mid-air). Aim for a balance—around 1/800 sec or 1/1000 sec usually keeps the rider sharp while allowing just enough movement in the spokes to show they are moving.
My Go-To Settings:
Mode: Manual
Aperture: f/4 or f/5.6 (to ensure both the rider and the bike are in focus)
ISO: Auto (with a cap at 3200)
Focus: Continuous AF (AI Servo/AF-C) with a single point or small zone focused squarely on the rider’s goggles.
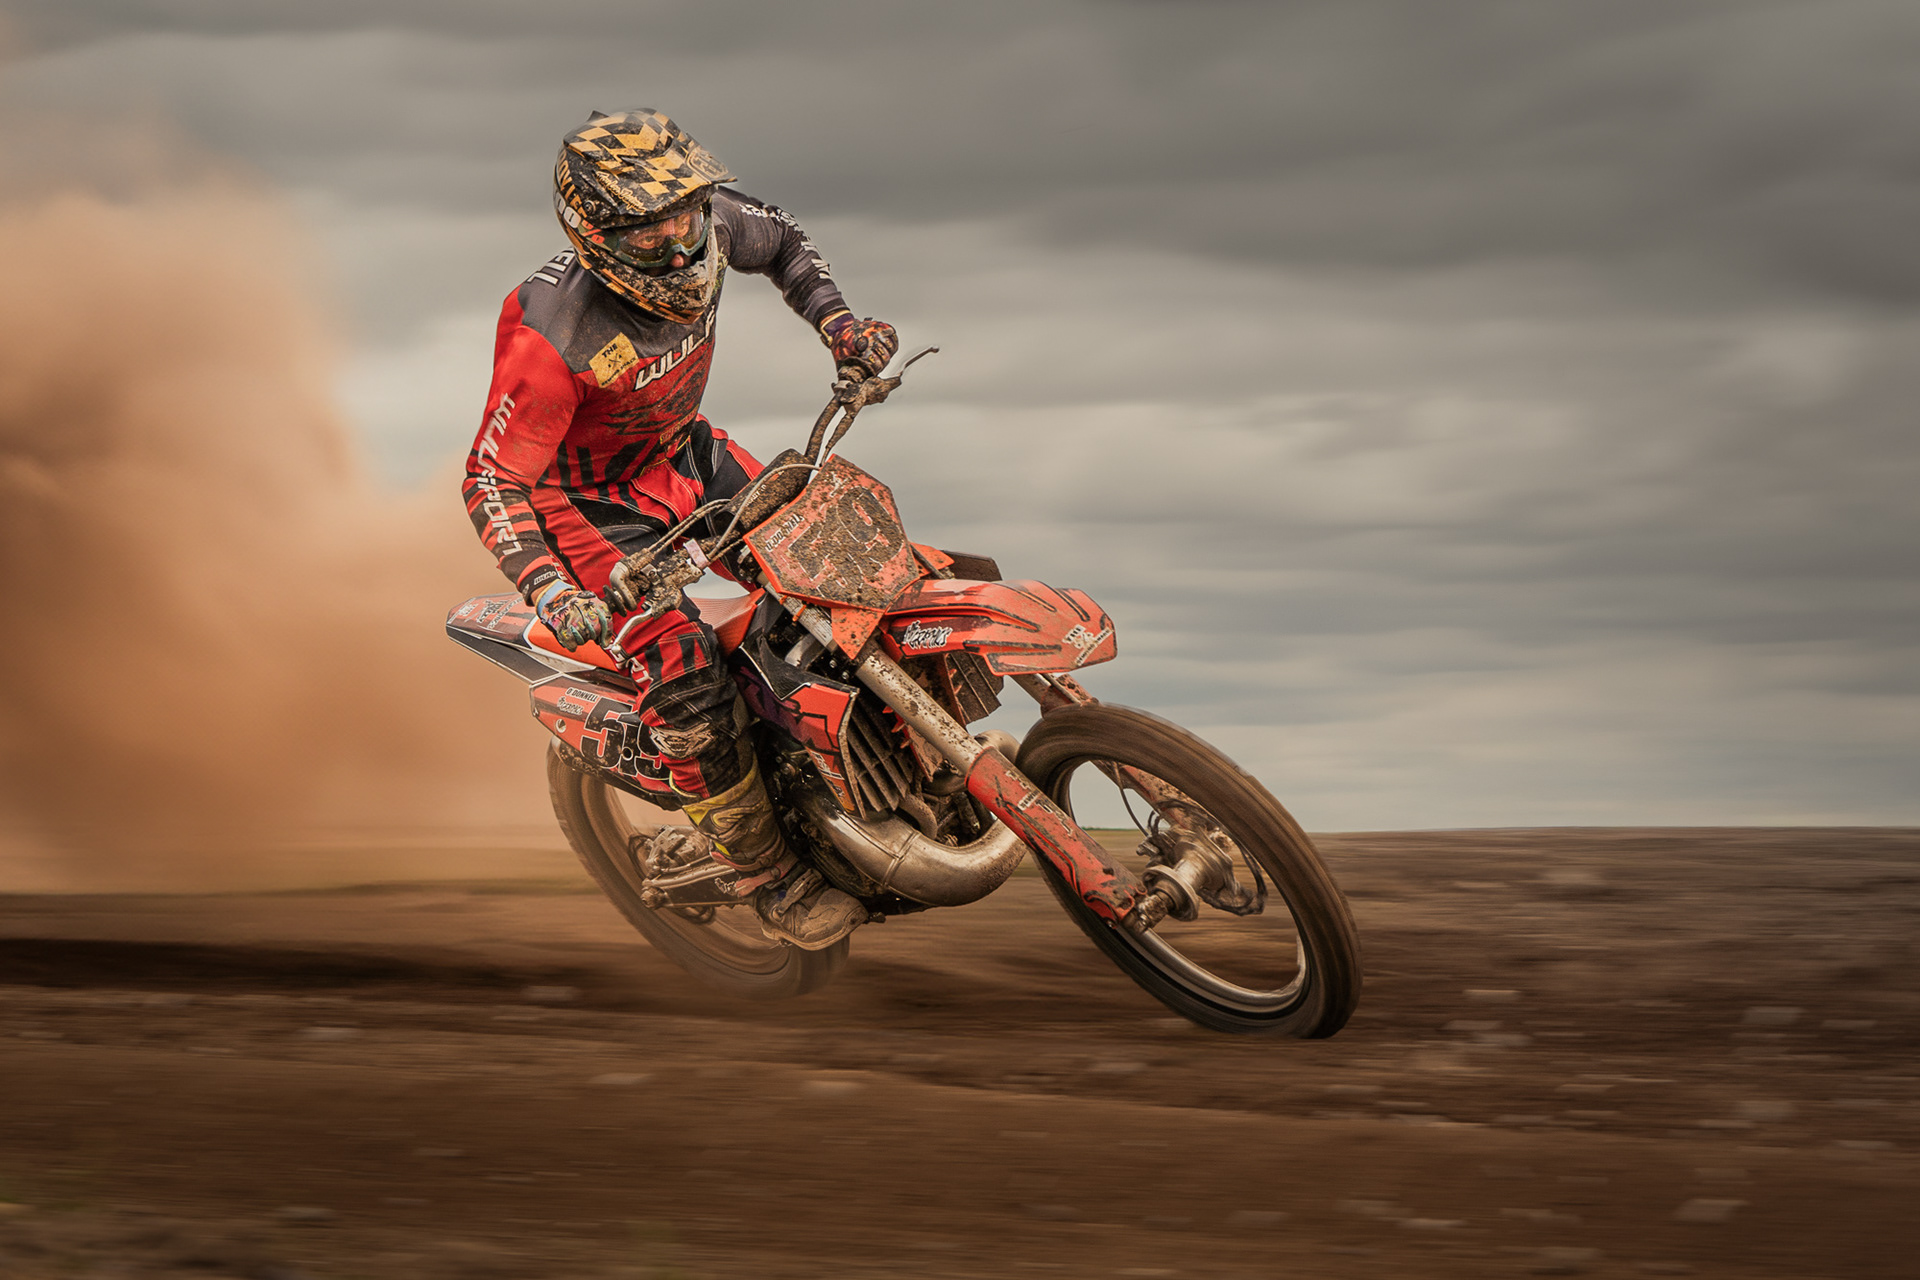
The Art of the Pan (MX Style)
Panning in motocross is trickier than road racing because the riders are bouncing up and down, not just moving left to right. However, catching a rider scrubbing a jump or railing a smooth corner with a slow shutter (approx 1/160 sec) can produce stunning results. It requires practice and a lot of deleted photos, but when you nail it, the sense of speed is undeniable.
Panning in motocross is trickier than road racing because the riders are bouncing up and down, not just moving left to right. However, catching a rider scrubbing a jump or railing a smooth corner with a slow shutter (approx 1/160 sec) can produce stunning results. It requires practice and a lot of deleted photos, but when you nail it, the sense of speed is undeniable.
Safety First
Motocross is dangerous. Bikes can—and do—leave the track unexpectedly.
Motocross is dangerous. Bikes can—and do—leave the track unexpectedly.
Never stand on the downside of a jump. Riders cannot see you until they are airborne. If they crash or land wide, you are in the danger zone.
Watch the Roost: A 450cc bike can throw rocks like bullets. If you are standing on the outside of a corner exit, protect your lens element and your eyes.
High-Vis is Essential: Make sure the riders can see you.
Post-Processing: Enhancing the Grime
When I get back to Lightroom, my workflow shifts to enhancing the texture. Motocross photos often benefit from a bit of "grit."
When I get back to Lightroom, my workflow shifts to enhancing the texture. Motocross photos often benefit from a bit of "grit."
Clarity & Texture: I bump these up slightly more than I would for a portrait to accentuate the flying dirt and tire treads.
Warmer Tones: If it was a dusty day, pushing the white balance slightly warmer can emphasize that golden-hour dust vibe.
Crop: I crop tight to remove distractions like track markers or hay bales, keeping the focus entirely on the rider’s determination.
Ending Comments
Motocross photography is a dirty, loud, and exhilarating hobby. You will go home with dust in your hair and mud on your knees, but you’ll also go home with images that scream energy. It teaches you to anticipate action faster than almost any other sport.
Motocross photography is a dirty, loud, and exhilarating hobby. You will go home with dust in your hair and mud on your knees, but you’ll also go home with images that scream energy. It teaches you to anticipate action faster than almost any other sport.
I hope this guide encourages you to head to your local dirt track. Grab your camera, protect that glass, and go capture the roost!
If you have any questions or have any ideas/ tips to share, please feel free to contact me using the 'contact' methods provided on the website panel.
Thank you, stay safe and happy shooting!
Martin
Want to learn more?
Want to see more images like this?
Here is a link to my most recent galleries on my Facebook Photography page:
Looking for further advice and inspiration, head over to:
Like what you see and want any of my images as a print up to A3, please contact me?